How to certify or digitally sign a PDF
Certify, sign, and export PDFs in the Deta desktop app. Works with local files and cloud drawings.
Updated
Find the tool
Certify
Desktop app → Export & Print → Certify
Before you start
Desktop only, for both local files and cloud drawings. Open your PDF in the Deta desktop app and have your signing certificate installed on your computer.
Steps
1. Open Certify
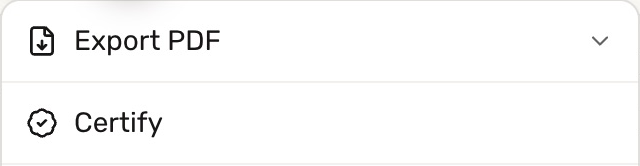
Open  Export & Print in the viewer header, then choose Certify.
2. Review the files
The open PDF is already listed. Click Add files to batch sign more PDFs, and check the page range for each file.

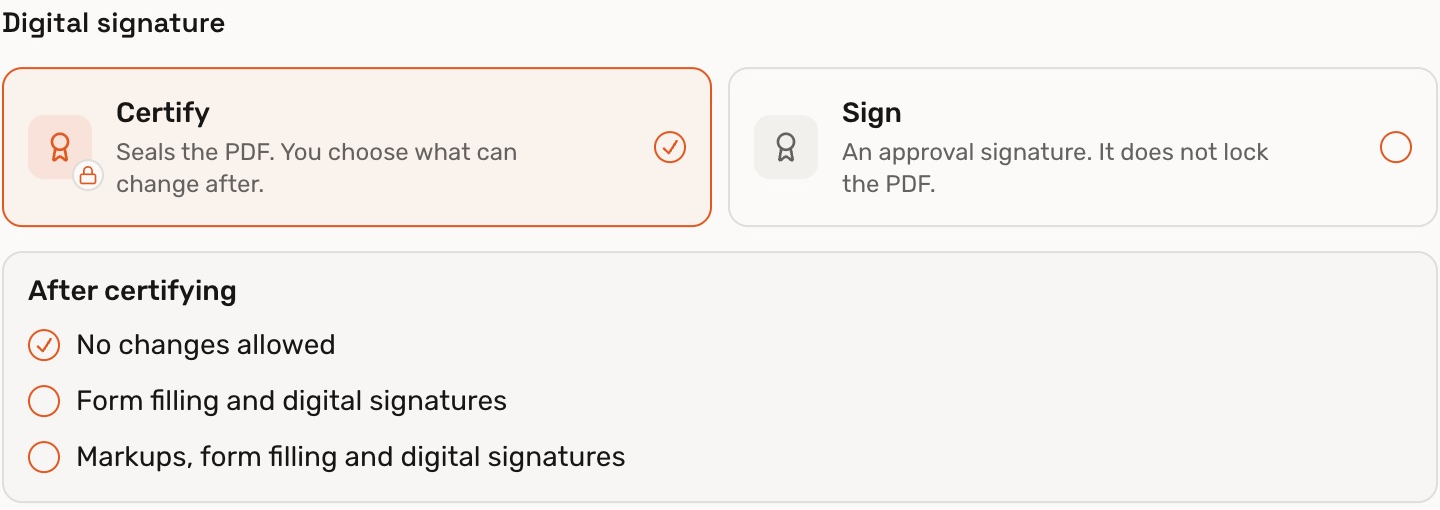
3. Choose certification or digital signing
- Certify: the usual choice for a finalized document. Choose No changes allowed to lock it, or select which later changes to permit.
- Sign: add an approval signature without locking the PDF—once for the whole PDF, in existing signature boxes, or on each sheet.
4. Position the visible signature or stamp
Under On the sheet, click Place for a signature, stamp, or both. Position the artwork and check it on the selected pages. This is optional; the digital signature works without visible artwork.

For architects and engineers who need to stamp and sign drawings, we recommend saving one image with your signature across your stamp in the Stamps or Signatures library. Set it up once, then position a single graphic each time.
In the viewer header, choose Apply to → All pages to repeat it across the document and enable Date below to add the date underneath. Deta remembers these choices for next use.

5. Review the timestamp settings
In More options → Signing time, choose your computer's clock or a timestamp server. Use only a server you are authorized to access: IdenTrust's service is for IdenTrust certificate holders. A server timestamp provides an independent time; your computer's clock does not.
6. Sign and export
- Click Sign & export.
- Select a signing certificate from the list shown by your operating system.
- Authenticate when prompted.
7. Save the signed PDFs
Choose a location on your computer for the signed PDFs, including when signing cloud drawings.
Check your result
Open the exported PDFs. Check the artwork placement and signature status in a PDF reader that supports digital signatures.
Troubleshooting
- Certificate missing: check its installation with your certificate provider.
- Timestamp rejected: check the server address, connection, and your access to the service.