How to change markup colors and appearance
Change annotation colors, line weights, fill, and text formatting using the properties bar in Deta.
Updated
Find the controls
Properties bar
Select a markup → properties bar above the drawing
The properties bar sits above the drawing. Its controls change depending on the markup you select.
Use the properties bar
- Choose Select (V) and click a markup.
- Change its appearance using the controls above the drawing. Click a number to type a value, or drag it left or right to adjust it.

For a connected annotation, select the text, leader, or cloud to change that part. With several markups selected, changing a shared property applies it to each compatible selection. Mixed means their current values differ.
Format text
Select the note to see the text-formatting controls in the properties bar. On narrower windows, alignment and line height move into  .
.

Change borders and backgrounds
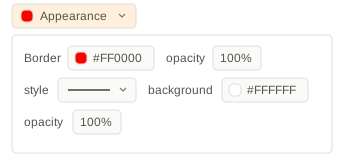
Text: open 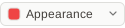 near the left of the bar for the box's border and background.
Lines and clouds: 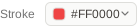 ,
, 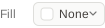 , and
, and  appear directly in the bar. The available controls depend on the selected markup.
Shared presets
If a markup uses a preset, appearance changes can affect other markups using it. To style only this annotation, choose No preset in the preset menu first; its current appearance is retained.